




























Epoxy flooring for the home: The complete guide to design, benefits, prices and preparation of the subfloor
In recent years, Epoxy flooring for the home הפך מאופציה השמורה לחניונים ולמפעלי תעשייה, לאחד הטרנדים החמים והיוקרתיים ביותר בעולם עיצוב הפנים הישראלי. מראה חלק, מבריק, נטול פוגות (חריצים) ואפשרויות עיצוב אינסופיות הפכו את האפוקסי לבחירה מועדפת על אדריכלים ומעצבי פנים. אם אתם שוקלים לשדרג את מראה הבית שלכם, המדריך הבא יספק לכם את כל המידע המקצועי שאתם צריכים לדעת, החל מהיתרונות והחסרונות, דרך סוגי הגימורים, ועד לשילוב נכון של בעלי מקצוע כמו Ceramic continuum בתהליך הכנת התשתית.
What exactly is epoxy flooring?
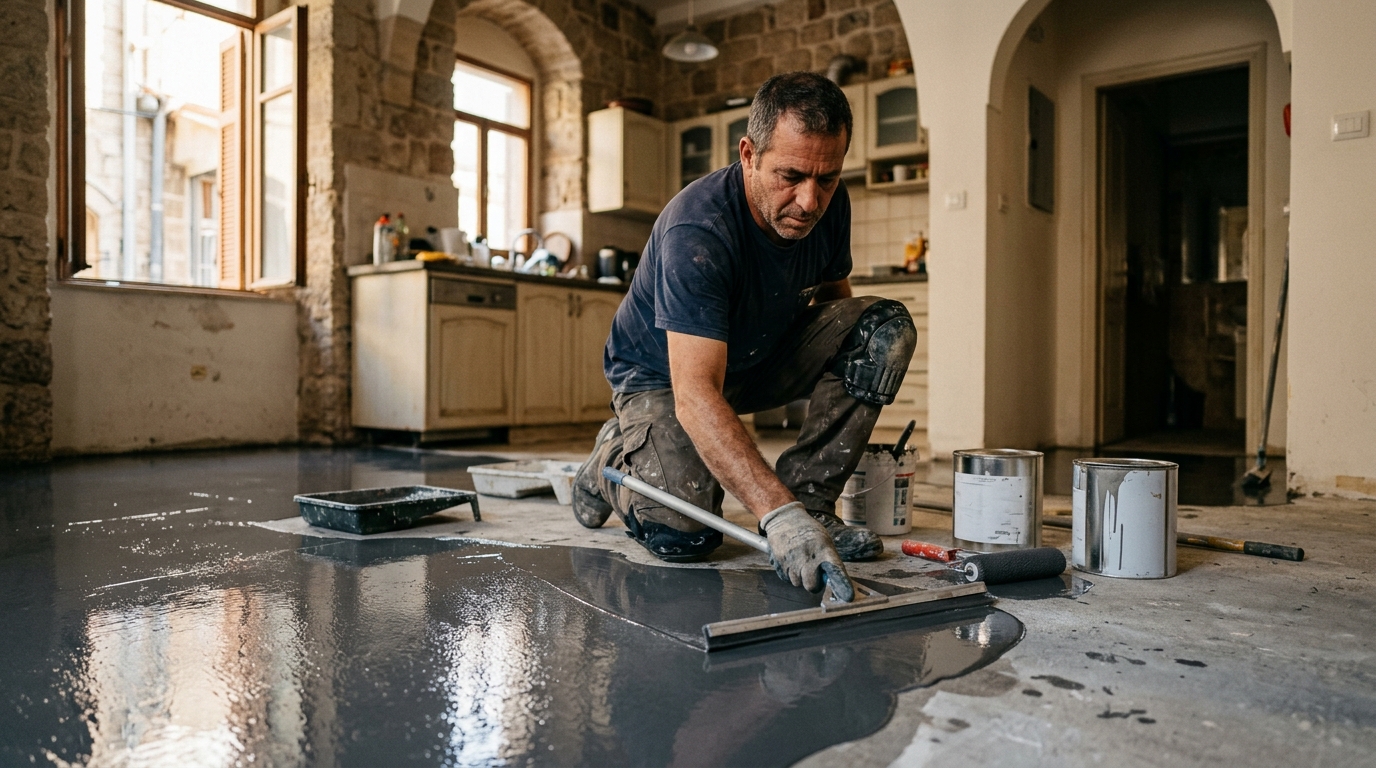
Epoxy flooring is based on a liquid polymer resin mixed with a hardener. When these two materials come into contact, a chemical reaction occurs that turns the liquid mixture into a hard, extremely durable, and completely impermeable plastic surface. The result is a smooth, uniform floor, without seams or joints, giving the space a modern, clean, and spacious look.
The important connection between epoxy flooring and professional ceramic tile
One of the most common questions among home renovators is: Can you apply epoxy flooring directly over an existing floor? The answer is definitely yes. In fact, most epoxy projects in private homes are performed over existing flooring to save on demolition and removal costs. This is where the critical role of a Ceramic continuum.
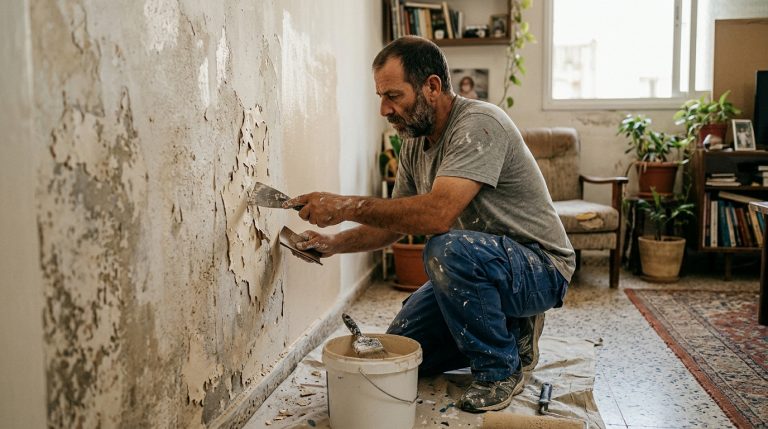
Applying epoxy requires a completely straight, smooth, and stable subfloor. If your old flooring is broken, wobbly, or has significant height differences, the epoxy grout will copy these defects or, worse yet, crack over time. Before pouring epoxy, it is recommended to consult with a professional tiler to ensure that the existing tiles are firmly secured. In many cases, a tiler will perform preparation work that includes reinforcing loose tiles, filling deep grooves with epoxy grout or specialized fillers, and leveling the subfloor prior to pouring. A perfect subfloor is the only guarantee for a perfect epoxy floor that will last for decades.
Advantages and disadvantages of epoxy flooring for the home
Notable advantages
- Luxurious and uniform appearance: Without grooves (fugues) that accumulate dirt, the space looks larger, cleaner, and more impressive.
- High durability: Extremely strong material, resistant to abrasion, chemicals, stains and moisture.
- Easy cleaning and maintenance: Since there are no grooves, passing a damp rag is enough to polish the floor.
- Unlimited design options: From a uniform, matte variety, to a marble-like metallic effect, to spectacular 3D floors.
- Application on existing floor: As mentioned, by collaborating with a flooring professional, you can save on breakage and waste removal.
Disadvantages worth knowing
- Rigorous preparation process: Requires a completely leveled foundation and zero humidity during application.
- Sensitivity to scratches: Despite its strength, dragging heavy, sharp furniture may scratch the top lacquer coating.
- Cool feeling: Similar to ceramic or marble, epoxy feels cool to the touch and does not insulate heat like wood or parquet.
- Difficulty in removal: If you want to replace the flooring in the future, removing epoxy is a complex process. In this case, a ceramic tiler can simply re-tile over the existing epoxy layer after proper roughening.
Common design styles in epoxy flooring
Epoxy flooring for the home offers a wide variety of finishes, so everyone can find the style that suits them:
- Solid Color Epoxy: Modern, clean and minimalist look. Very popular in homes designed in an industrial or high-tech style.
- Metallic epoxy: Incorporates metallic pigments that create a deep, flowing, and unique look reminiscent of natural marble or molten liquid. Each metallic floor is a one-of-a-kind work of art.
- Epoxy Flakes: Scattering of paint flakes within the casting. Provides a slight roughness to prevent slipping and an appearance reminiscent of terrazzo. Excellent for balconies and wet spaces.
- Three-dimensional (3D) epoxy: Printing a huge image and placing it under a completely transparent epoxy layer. Common in bathrooms (for example, a print of a seabed).
How much does epoxy flooring cost for a home?
The price of epoxy flooring varies depending on the condition of the subfloor, the size of the space, and the complexity of the chosen design. When calculating the cost, the cost of preparing the subfloor (such as the services of a ceramic tiler to repair an existing floor) must also be taken into account. Below is a table of average estimated prices in Israel for 2024 (prices refer to labor for raw materials, per square meter):
| Epoxy finish type | Short description | Estimated price range per square meter (in NIS) |
|---|---|---|
| Solid color epoxy | Smooth casting in one color (matte or glossy) | 250 – 450 NIS |
| Epoxy Flakes | Combination of paint chips for a terrazzo-like appearance and anti-slip properties | 300 – 550 NIS |
| Metallic epoxy | Combining pigments to create a deep, marble-like appearance | 400 – 700 NIS |
| Three-dimensional (3D) epoxy | Combining a giant sticker under a completely transparent casting | 600 – 1,000 NIS |
| Substrate preparation and leveling | Tile repairs, joint filling and preliminary leveling (by professional screeding) | 50 – 150 NIS (additional per square meter) |
Application process: step by step
To ensure the quality of the result, professional work steps must be followed:
- Step 1 – Preparing the infrastructure: Thoroughly clean, sand, and roughen the existing floor. This is the place to repair broken ceramic tiles and seal the joints so that the epoxy doesn't sink into the material.
- Step 2 – Applying primer: A base layer that connects the substrate to the epoxy casting and prevents moisture from rising.
- Step 3 – Pouring the Base Coat: Apply the epoxy in the chosen shade or as a base for the design. At this stage, sprinkle flakes or perform manipulations for a metallic look.
- Step 4 – Protective layer (Top Coat): A layer of clear varnish (usually polyurethane) that provides protection against scratches and prevents the epoxy from yellowing from exposure to UV rays.
Maintenance and cleaning of epoxy floors
One of the great advantages of epoxy flooring for the home is its ease of maintenance. Since the surface is non-porous, liquids do not penetrate it and it is resistant to stains from wine, coffee or oil. Regular cleaning is done with a broom, vacuum cleaner and washing with mild detergents (without acidic or abrasive substances that may wear away the top protective layer). It is recommended to attach felt pads to the bottom of heavy furniture to prevent scratches when dragging it.
Summary: Is epoxy flooring right for your home?
Epoxy flooring for the home offers an innovative, impressive and extremely durable design solution that can upgrade any living space. Although it is a financial investment that requires careful preparation work, the end result – a smooth, uniform and breathtaking surface – justifies the effort. Always remember that the secret to success lies in the infrastructure. Proper and advance work combined with a skilled ceramic tiler to repair and prepare the existing surface, together with a certified epoxy contractor, will guarantee you a spectacular floor that will serve you faithfully for decades.