

























Ceiling cornice: The complete guide to selection, design and professional installation
In recent years, the world of interior design in Israel has undergone a real revolution. If in the past we were content with smooth walls and standard ceilings, today every property owner understands that the difference between an ordinary home and a home with a luxurious and designed appearance lies in the small details. One of the most central and popular elements for creating a perfect finish is Ceiling cornice. Beyond the aesthetic aspect, incorporating cornices offers many practical solutions such as hiding cracks, routing electrical wires, and incorporating hidden lighting. In this guide, our experts will detail everything you need to know about ceiling cornices – from the types of materials, to costs, to the importance of professional cornice installation.
What is a ceiling cornice and why is it so important for space design?
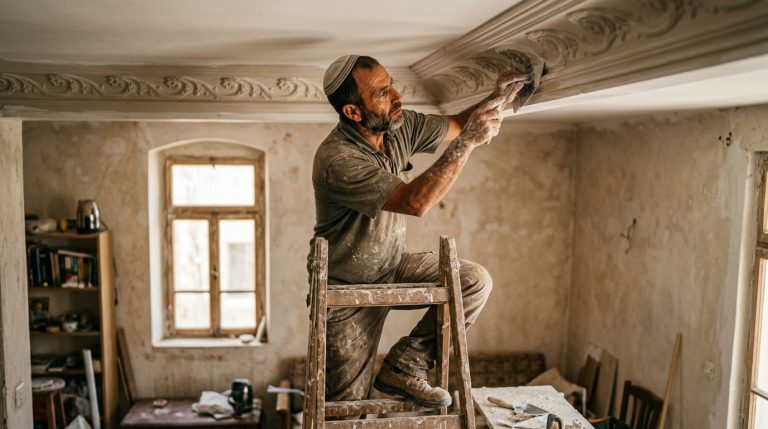
A ceiling cornice is a decorative profile installed at the point of connection between the wall and the ceiling. It originated in classical architecture, but today cornices can be found in a huge variety of styles – from busy and classic decorations to clean, minimalist and modern lines. The combination of a ceiling cornice in a space immediately upgrades the appearance of the room, gives a feeling of height and space, and creates an elegant frame that connects all the design elements in the room together. In addition, in the Israeli climate and local construction methods, small cracks often form in the connections between the walls and the ceiling as a result of natural movements of the structure. A ceiling cornice is a perfect aesthetic solution for hiding these defects.
Common types of materials for ceiling cornices
The choice of material from which the cornice is made will directly affect the final appearance, durability, and of course the process of installing the cornices. Below is a comprehensive overview of the leading materials on the market:
Polyurethane cornice
Polyurethane is the most recommended material today by professionals and interior designers. It is a material with high density, which makes it particularly resistant to impacts, scratches and moisture. The great advantage of polyurethane cornice is the ability to produce it with very smooth and precise finishes. It comes ready to paint (coated with primer), is relatively easy to install, and does not warp over the years. Installing polyurethane cornices ensures an impressive result and long-term durability, especially in humid rooms such as bathrooms or kitchens.
Styrofoam (polystyrene) cornice
Styrofoam cornices are the cheapest and most accessible solution. They are lightweight and very easy to cut, making them popular with DIY enthusiasts. However, it is important to understand the disadvantages: Styrofoam is a soft and fragile material, it can be easily damaged by a slight blow, and its finish often looks less smooth and luxurious than polyurethane. It is recommended to use it mainly in high areas that are inaccessible to the touch or in projects with a very limited budget.
Plaster cornice
Plasterwork is an integral part of the construction culture in Israel. A plaster cornice is actually a custom construction that is specifically tailored to the dimensions of the room. The main advantage of a plaster cornice is the ability to produce very large cornices, complex niches, and low ceilings. This is the ideal solution when you want to integrate air conditioning systems (concealed air conditioners) inside the cornice. The disadvantage is that it is a real construction process, requiring metal construction, putty, sanding, and a lot more dirt and work time.
Wooden cornice
A wooden cornice gives a rustic, warm, or heavy classic look. It is often used in libraries, luxury offices, or homes decorated in a country/English style. The wood requires periodic treatment against pests and maintenance of the varnish or paint, and its cost is relatively high in both the material and the carpentry work required.
How much does it cost to install a ceiling cornice? Price comparison
The cost of installing cornices varies depending on the type of material, the complexity of the work (number of corners in the room), and the condition of the walls. Below is a table summarizing the average price range in Israel (prices include the material and basic installation work per running meter, but do not include final paint):
| Material type | Notable advantages | Disadvantages | Estimated cost per running meter (including installation) |
|---|---|---|---|
| Polyurethane | Very durable, luxurious look, slightly flexible, waterproof | More expensive than Styrofoam | 60 – 120 shekels |
| Styrofoam (polystyrene) | Very cheap, lightweight | Vulnerable to impacts, less meticulous finish | 30 – 70 shekels |
| plaster | Fully customizable, suitable for air conditioning and heavy lighting | Requires extensive renovation work, dirt, long installation time | 150 – 250 shekels |
| Solid wood / veneer | Rich, unique and luxurious appearance | High price, requires maintenance, complex installation | 100 – 300 shekels |
Hidden Lighting: The Hot Trend in Ceiling Cornices
It is impossible to talk about ceiling cornices without mentioning one of the most prominent trends in modern interior design: concealed lighting cornices. These are cornices (usually made of polyurethane or plaster) that are designed in such a way that they leave a small gap between them and the ceiling or wall. An LED lighting strip is installed inside this gap. The result is soft, flowing, and pleasant lighting that illuminates the ceiling without dazzling those sitting in the room. This lighting creates the illusion of a floating, higher ceiling. Pro tip: When installing LED lighting cornices, it is mandatory to use an aluminum profile inside the cornice. The aluminum dissipates the heat emitted by the LED strip and prevents the risk of ignition or deformation of the cornice over time.
Installing cornices: Why you shouldn't compromise on a professional?
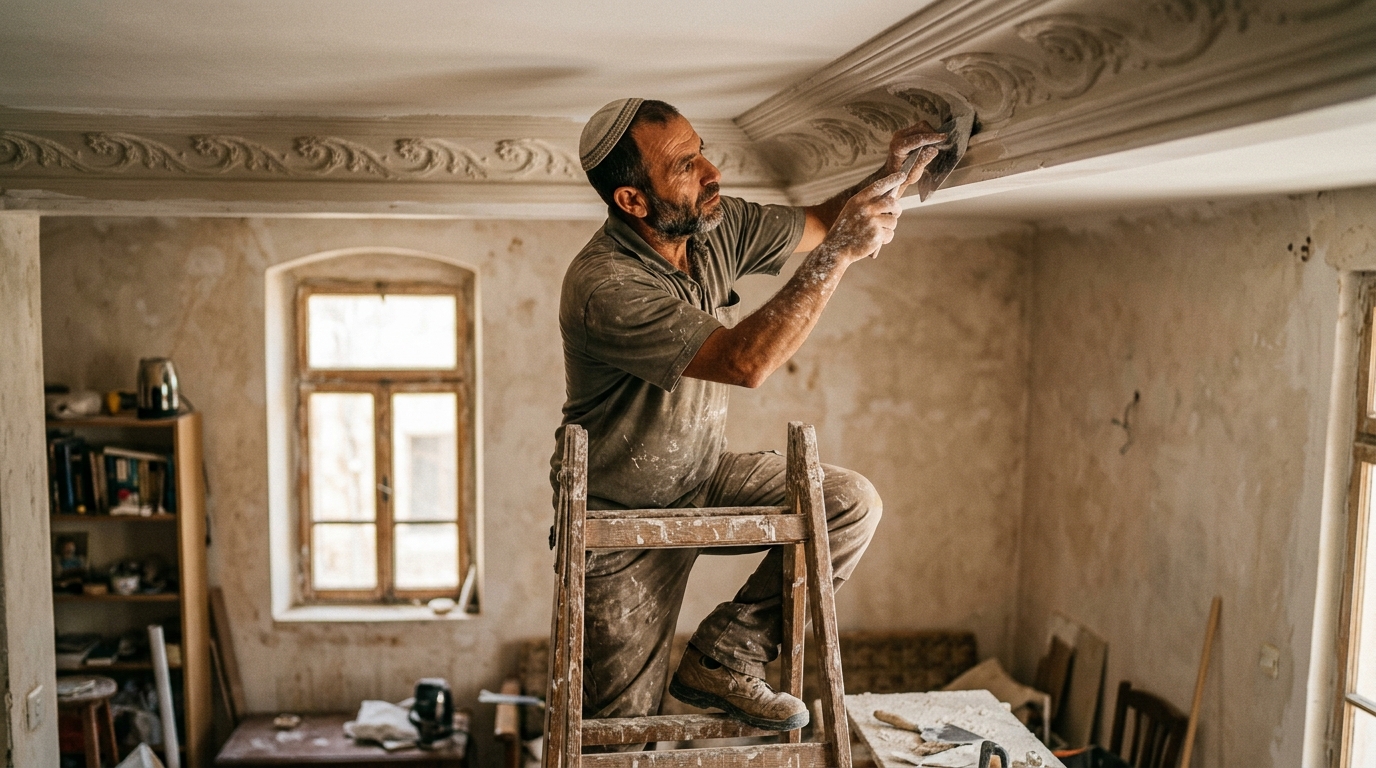
Many people tend to think that installing a cornice is a simple task of gluing it on and nothing more. In fact, Installing cornices It is an art that requires great precision, professional knowledge, and specialized tools. Here are some reasons why it is recommended to hire a professional installer or expert repairman to perform the work:
- Perfect angle cutting: The biggest challenge in installing a ceiling cornice is creating nice corners. Walls are never exactly 90 degrees straight. A professional installer uses a jigsaw and knows how to calculate and cut the exact angle to create a clean joint that leaves no holes or gaps.
- Using the right adhesives: The choice of glue is critical. Using a cheap or unsuitable glue will lead to the cornice falling off or cracks appearing at the joints after a few months. Experts use strong polymer glues (such as Super 7 or Hi-Tac) and special acrylic glue to connect two parts of the cornice.
- Professional finish: The part that makes the difference between amateur and professional work is the finish. After gluing, all connections to the wall and ceiling should be covered with acrylic putty (putty), smoothed with a damp sponge, and after drying, gently sanded and painted evenly to blend in with the ceiling.
- Dealing with crooked walls: Many homes in Israel have wavy walls. A professional will know how to bridge these gaps without the cornice looking distorted, using appropriate fillers.
How do you choose the right cornice size for the space?
The professional rule of thumb for choosing a ceiling cornice refers to the height of the ceiling in the space. In modern homes where the standard ceiling height ranges from 2.60 to 2.80 meters, it is recommended to choose a cornice with a relatively subtle presence, at a height of 5 to 9 centimeters. Choosing a larger cornice may create a feeling of lowering and congestion in the room. On the other hand, in older homes, luxury apartments or public spaces with high ceilings of 3 meters or more, it is recommended to install wider and more prominent cornices (12 centimeters or more) that will maintain correct proportions and give the space an impressive and noble appearance.
Complete steps for installing a ceiling cornice
So that you know what to expect when you hire a professional, these are the standard steps of the job:
- Surface preparation: Clean the wall and ceiling of dust, flaking paint, or grease. If there is old oil paint or lime, the installer will lightly sand the area to create better adhesion.
- Measurement and marking: Use a level (preferably a laser level) to mark a straight line along the walls. Especially on curved walls, it is important to keep the cornice line straight even if it means creating gaps that need to be filled later.
- Cutting and pasting: Cutting the profiles, applying a dedicated adhesive to the two contact strips (one for the ceiling and one for the wall) and firmly attaching.
- Filling and closing: Filling the gaps between the cornice and the wall and ceiling with a flexible acrylic material that prevents future cracks.
- painting: The final stage. After the fillers have completely dried, the cornice is usually painted in the ceiling color (Policid or Supercryl) to achieve a harmonious and uniform appearance.
Long-term maintenance and cleaning
A ceiling cornice does not require complicated maintenance. Since it is located high, it tends to accumulate dust, especially if it is a cornice with prominent decorations or steps. It is recommended to go over it once a month with a soft duster or a dry microfiber cloth attached to a rod. Do not use harsh cleaning agents, especially if the cornice is painted with regular acrylic paint. If after a few years the paint fades, all it takes is to go over it with a small roller and a new coat of paint, and it will look just like the day it was installed.
Summary
A combination of Ceiling cornice It is undoubtedly one of the most effective, impressive and affordable ways to upgrade the interior design of any property. Whether you choose a modern and clean look with hidden LED lighting, or a classic and ornate look, the advanced materials available today allow you to achieve amazing results. However, remember that the quality of the finish is everything. A cornice installation project must be carried out by professional hands, using the right tools and the highest quality adhesives and fillers. Professional installation will ensure you straight lines, smooth joints and an elegant design that will be preserved and adorn your home for many years to come.