

























Ceramic bonding על קרמיקה במקלחת היא בהחלט אופציה, שיכולה לחסוך לכם זמן וכסף, במיוחד אם אתם רוצים לרענן את מראה חדר הרחצה בלי להיכנס לשיפוץ מאסיבי. עם זאת, חשוב מאוד לוודא שהקרמיקה הקיימת תקינה ויציבה, ולבחור בחומרים המתאימים לסביבה רטובה.
Here are a few important points to note:
1. Infrastructure testing:
- stability: Make sure the existing ceramic is solid and strong, with no loose or cracked tiles. Tap each tile lightly and check for a hollow sound indicating detachment.
- level: Make sure the walls are straight, without slopes or bumps.
- moisture: It is important to make sure that there is no moisture or leaks in the walls or floor. If there are signs of moisture, it is important to address the problem before gluing the new ceramic.
2. Surface preparation:
- Thorough cleaning: The existing ceramic must be thoroughly cleaned of dirt, dust, grease and soap residue. Use dedicated cleaning agents to remove grease.
- Roughness: It is recommended to roughen the surface of the existing ceramic to improve the adhesion of the adhesive. This can be done using coarse sandpaper or a diamond disc.
- Drying: Make sure the surface is completely dry before applying the adhesive.
3. Selection of materials:
- paste: It is important to choose a strong and flexible adhesive, with high adhesion and resistance to moisture.
- Epoxy or polyurethane adhesives are an excellent choice, as they are resistant to moisture, mold, and vibration.
- rifle: The rifle should also be resistant to moisture and mold.
- It is recommended to use an epoxy gun, which is particularly resistant to water and chemicals.
4. Bonding the ceramics:
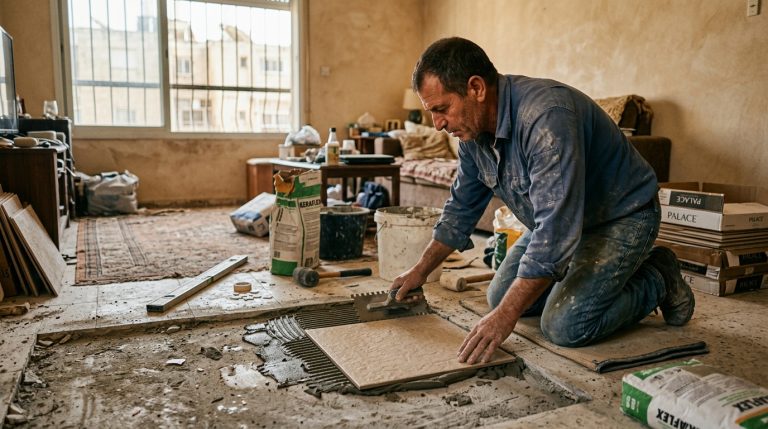
- Applying the glue: The adhesive must be applied to the existing ceramic using a serrated trowel, in order to create a uniform layer with grooves.
- Laying the ceramics: The new ceramic should be placed on the adhesive, applying light pressure and gentle rotation.
- Intervals: Equal spacing must be maintained between the ceramic tiles, using spacers.
- Alignment: Make sure that the ceramic tiles are perfectly aligned, both horizontally and vertically.
5. Rifle filling:
- Filling: After the glue has dried, the gaps between the ceramic tiles should be filled with grout, using a rubber spatula.
- Cleaning: Gun residue must be cleaned off the ceramic before it dries.
Additional tips:
- Ventilation: Make sure there is good ventilation in the bathroom during and after work, to allow the glue and gun to dry properly.
- Consult a professional: If in doubt, it is recommended to consult a professional sequencer.
- Precise work: Make sure to work precisely and neatly to ensure an aesthetic and durable result.
- Drying times: Ensure appropriate drying times for the glue and gun before using the shower.
Bonding ceramics to ceramics במקלחת יכולה להיות פתרון יעיל וחסכוני, אך חשוב לעשות זאת נכון. הקפדה על השלבים והטיפים הללו תבטיח לכם תוצאה איכותית ועמידה לאורך שנים.