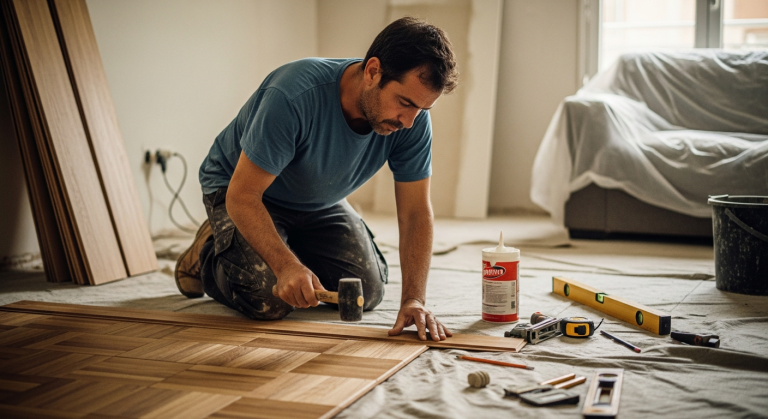


Installing a three-phase outlet for a stove is a job for a certified electrician only!
It is very important not to attempt the installation yourself, as working with electricity can be very dangerous.
However, here is general information about the process:
1. Preparation:
- Disconnecting the power: Turn off the power at the main electrical panel.
- Wiring test: Make sure there is three-phase wiring available from the panel to the stove location.
- Socket selection: There are two main types of three-phase sockets for stoves:
- Drain socket: Cheaper, but big and massive.
- Chocolate socket: Smaller, wall-mountable, more expensive.
- equipment: Make sure you have all the necessary equipment: a three-phase outlet, three-phase wires, a three-phase miniature circuit breaker (MCB), and appropriate tools.
2. Installation:
- Connecting the wires: Connect the three-phase wires from the panel to the outlet, according to the colors (brown/black/gray - phases, blue - zero, yellow-green - ground).
- Installing the timer: Install a three-phase AC in the electrical panel, dedicated to the stove.
- Checking connections: Make sure all connections are tight and secure.
- Socket assembly: Mount the outlet on the wall or connect it to the electrical box.
3. Inspection:
- Electrical connection: Turn on the power at the electrical panel.
- Integrity check: Make sure the outlet is working properly with a voltage tester.
Important recommendations:
- Call a qualified electrician: Installing a three-phase outlet is a dangerous job that requires knowledge and skill. Do not attempt to do the job yourself!
- Make sure the electrician is licensed: Ask the electrician to show a valid license.
- Get a detailed quote: Make sure the quote includes all necessary labor and materials.
- Check the work after installation: Make sure the outlet is installed properly and is working properly.
Safety comes first!